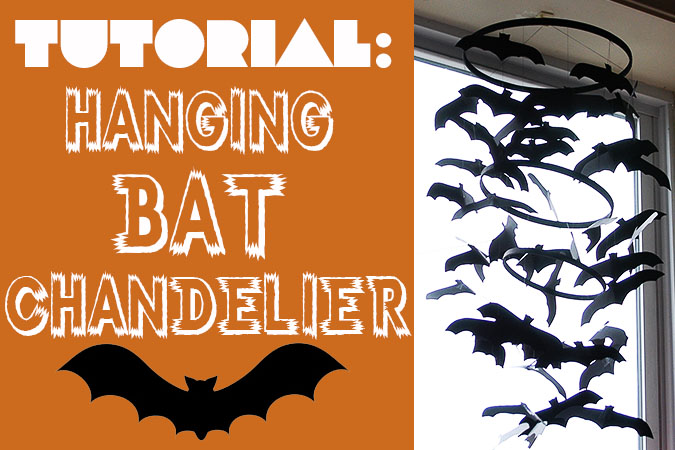
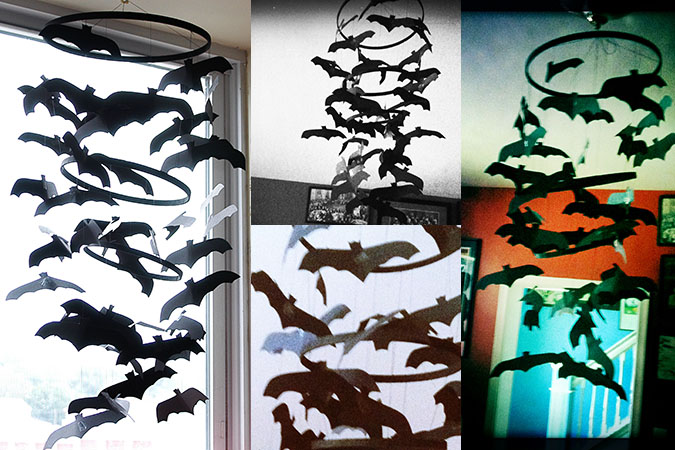
 This bat chandelier is inspired by one that Pottery Barn Kids had for sale a few years ago. Their version had felt bats (and you could do that too!) Their version also had pom-poms, which are not spooky enough for me, but feel free to add them if you love the way it looks!
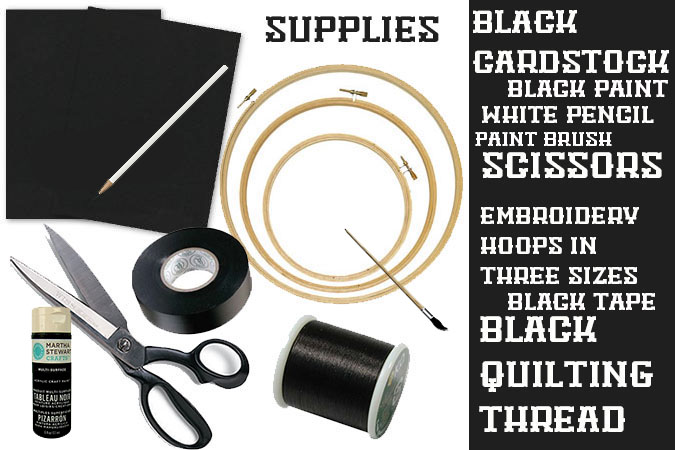 Here’s what you’ll need:
-black card stock or you can use stiff black felt, or pre-cut paper bats
-black craft paint
-white colored pencil if you use felt you may need a white seamstress marker instead
-paintbrush
-scissors
-embroidery hoops in three sizes you can make your chandelier as big or small as you want by the size of your hoops
-black tape washi tape or electrical tape
-black quilting thread
1. Take apart your embroidery hoops and paint all three of the plain wooden hoops black. You will not need the outer hoops that have the tightening hardware, but you could save these for another project.
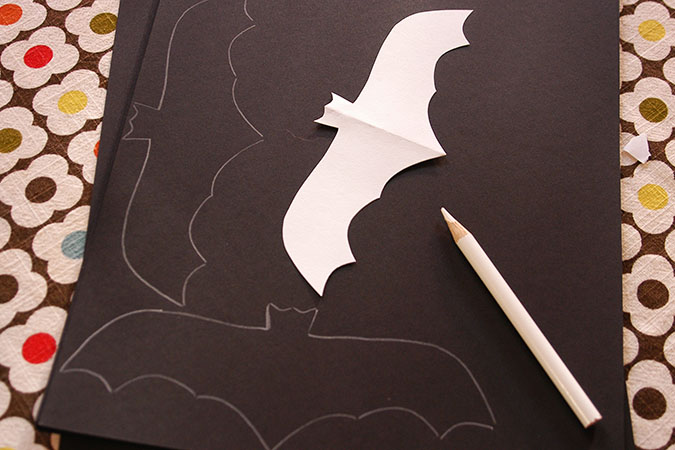 2. While the hoops are drying you can cut out your bats. I just folded a piece of paper in half and cut out a bat shape, but there are bat templates here and here that you could use instead. I was able to fit about 6 bats per page, and then doubled up my paper when cutting them out so I would get two cut at a time. Do not worry about the bats being super detailed. I used the white colored pencil to trace my bat design and then made sure to cut inside my lines.
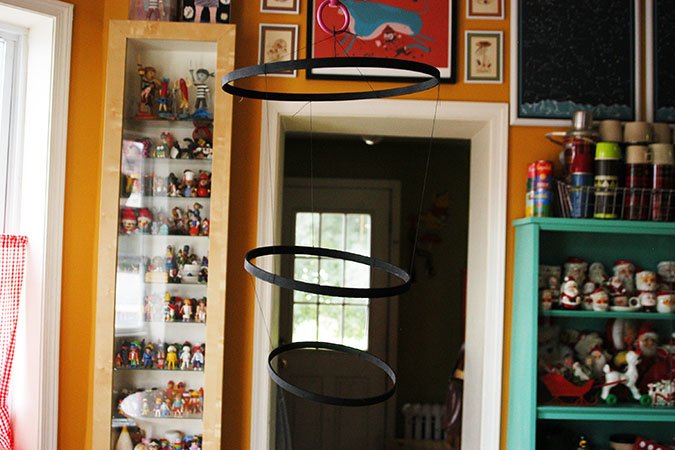
 3. Once the embroidery hoops are dry we are going to attach the thread and get them hung up. Take the largest hoop and 3 lengths of thread. Tie each thread securely around the hoop (trying to keep them equal distance apart) and then bring all three threads together in the center and tie them into a knot.
4. Now it will be easier to work with if you can hang your top tier on something. I hooked mine on the bottom of our dining room chandelier because it was an easy to work with height. Now you want to add the second and third tier. Like the big hoop tie three threads around the edge and instead of bringing them together at the center, you will tie the ends to the big hoop which is hanging. The amount of distance you leave between the hoops is up to you, just remember once it’s hanging you don’t want it to be too long if you plan on being able to walk underneath it.
 5. once all your tiers are hung in place you can start to hang your bats. I used the tape to secure a length of string to each bat and a bit of tape to hang it to the hoop (you could also tie them onto the hoop instead) Start with the lowest tier and work your way upward. If you want to add pom-poms, just use a needle to string them onto your thread. Your bats can be put on very neatly, even spaced…or just added at random (which is what I did)
6. Now find a place to hang your bats and enjoy!
movil halloween
04.10.2013 06:21
How To Tuesday – Hanging Bat Chandelier
